Thursday, January 19, 2017

All panels attached

Two weeks of gluing panels are behind and the form of the boat starts to be easier to visualize now. 
We started with the upper panels as they were easier to attach and possible to press with clams from both sides.


For the lower panels we needed to fix some extra support and use different types of wedges to get all surfaces tight enough for the gluing to be successful.


Here below we have the last panel glued. By the way if I haven't mentioned it earlier, the panel material I use is a new innovative boat planking material made by Vendia Woods with the surface of mahogany. Vendia is also writing a blog where you can read more about the material and of different boat projects utilizing their products.


Next step was to start forming the back corner parts and the bow. First tricky thing was to figure out the radius of outer surfaces.


I started by cutting and roughly forming the parts with the circular saw. These parts are made of massive mahogany.


The actual forming was made with the hand plane. Mahogany is quite a hard material so it was good work-out for couple of hours.


I ended the day with attaching the corner parts and the bow. 
Next week will be filled with sanding and some more sanding to get the hull ready for some surface treatment.


Please come back next week to see what the sanded hull looks like.


Monday, January 9, 2017

Back from the Christmas break

We left all our boat projects resting at the school for the Christmas break.


On the second last day of the year I got a phone call from the courier that they would like to bring me some boat planks I ordered two weeks earlier from Vendia Woods. I was positively surprised by the fast delivery of this late Christmas "present". 

  First thing today when we started the spring semester was to unpack the package from Vendia Woods.


I found some nicely smelling mahogany boat planking. This is the material I will use when continuing with my boat project. 

We started immediately to model the sides and the transom and got quite far already the first day. Tomorrow we will continue and glue some of the planks.


Thursday, December 1, 2016

The boat project proceeds


It's a while since I wrote last time, but now the project has proceeded well and it's in a good phase to share some images with you.

We started with building the jig on which we then assemble the frames and build the boat up-side down.
 

Next step was to cut all the frames out from plywood sheets. With some optimization I was able to save some plywood sheets.


Here we now have all the frames in place on the jig.


 The transom is installed.


Before all the length going supporting strips could be attached openings in the frames needed to be made. We used several different techniques to find out the most suitable one. Saw and chisel, B&D "Raspiroope", handheld milling machine with different jigs. Below you see one example of a jug used.


Many of the strips needed to be jointed. Below you see a simple one that is ok when the joint will not be visible in the final product.


All the strips and the keel are installed. 


The stem is roughly formed but it needs some final shaping is still needed to get it to fit. The stem will get a slightly different form than on the model I built earlier.


Below you see the keel shaped.


My colleague is showing how you speed up the shaping with an electric planer. You get fast results quickly but need to be careful not to destroy and start all over. 


Today we cut the bottom plates roughly and will be able to install them next week.


First view from the inside but still up-side down.


The screw holes drilled in the bottom plates. And now the bottom plates are ready to be glued and screwed.


Next time I hope I can show you something that really looks like a boat.


Wednesday, November 9, 2016

First we make a model


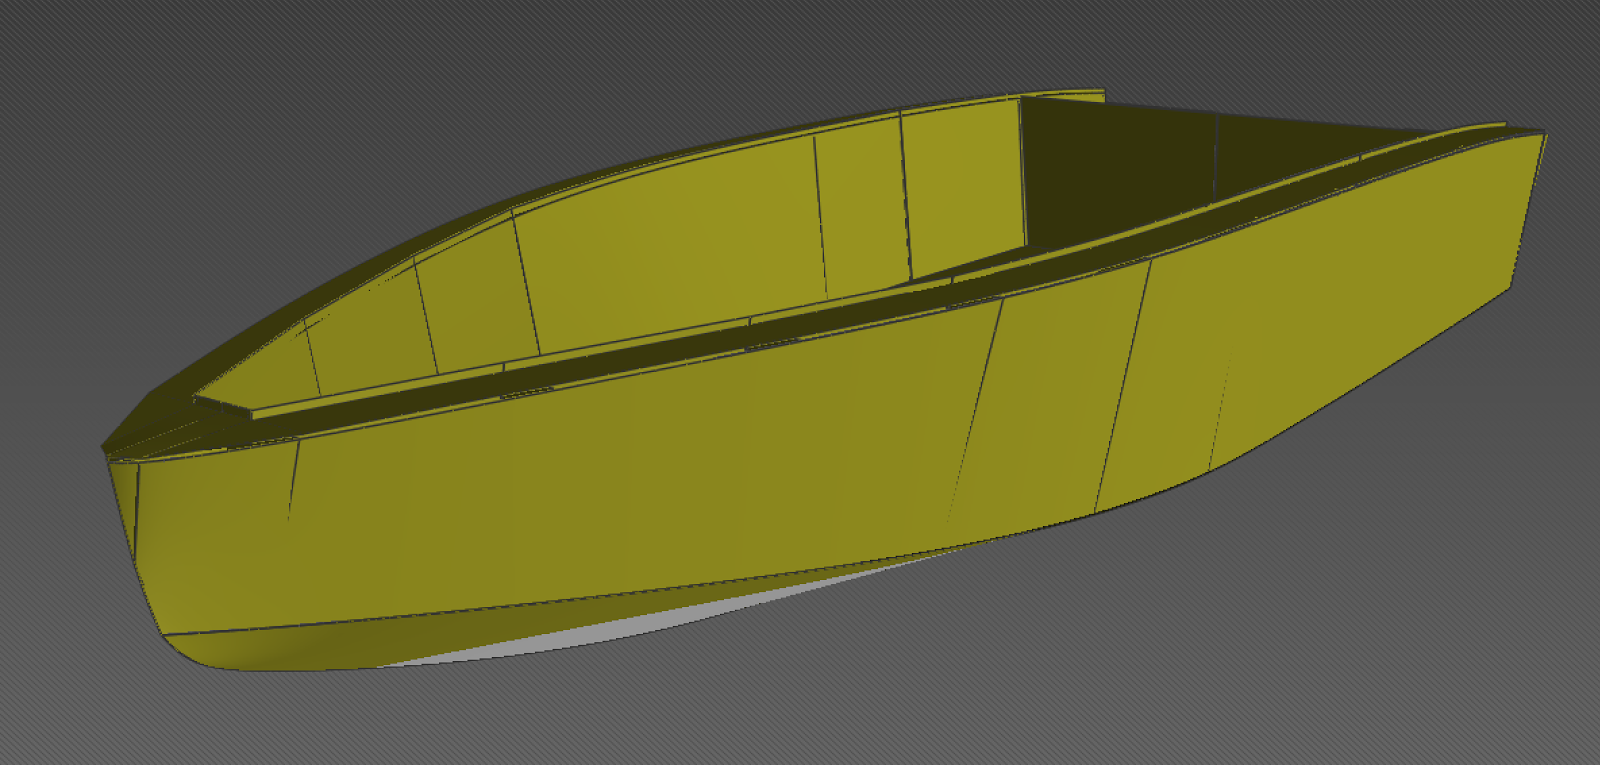
When I started studying wooden boat making earlier this year at Livia in Pargas I wanted to make a motorboat. I had a vision of the look and size so I started to study what there is on the market and what kind of drawing would be available. I didn't really find what I was looking for, so I decided to look for some suitable boat design software to start drawing the boat myself. One of the older students had used DELFTShip for his project so I decided to download it and give it a try. After several long evenings and weekends I had produced something I could present to my teacher.  


After some iterations he told me it would be a good idea to start with a 1:10 model of the boat. It would be easier to visualize the shapes of the boat and a good learning on how to build the full scale boat. And a lot cheaper to practice on 1:10 scale than on full scale.

On the autumn break I started to build the model. The idea was to simulate as much as possible the building of the full scale boat. I started with building the stand. I had suitable material from my last strip kayak project. The rest of the material I bought from Levy-Jaati in Turku, 1 and 2 mm plywood. Cutting the frames was easy with a small band saw and the strips with a sharp knife.


Next step was to start gluing everything together. A fast tool for this was a hot glue gun, it's fast and you are able to fix if something goes wrong. Just use the hair dryer, auch I never asked if it's ok to take it to the garage.


After removing the clams all parts stayed together and the whole skeleton was really stiff.
Now it was already possible to check the shape and fine tune some parts before mounting the boards.


A few more steps and we had the inner hull and the deck also mounted. The steering console and the engine I carved from some small pieces of XPS foam from Finnfoam. The seats I made from some small pieces of a yoga mat.


Last step was then to varnish the hull and add some paint on the bottom, engine and steering console. It was difficult to choose the color for the engine as I think all colors are associated with some outboard brand. The matt black color doesn't mean M.....


If you are curious to see the boat live you have your chance this weekend 10-13.11 at Venexpo boat exhibition in Turku at Livias stand C/43. Welcome.

After the exhibition we will continue in full scale.


The stand is ready and so are most of the frames.
 

Tuesday, November 1, 2016

The boat is taking shape

We have been building the first boat now for about 6 week and it starts to look like a boat, a bigger boat than I first thought. We have already learned a lot about building a traditional wooden boat and there will be a lot more to learn before it is ready.


As soon as we got the boat turned around on its keel and the first planks fastened we started to impregnate the boat with linseed oil. The last thing every week has been to clean up the boat from all chips and sawdust and then brush on some linseed oil. There will be a lot of oil needed. The linseed oil we get from GVK Coating Technology Oy.  


Last week we learned how to make a joint. Now we know how to make a simple one but there will be more variants to learn.


Riveting is also practiced a couple of hundred times, but is still far from perfect.


The transom has also started to get its shape. I think it will look great when it will be ready. Slightly bent in standing planking or strips. I don't know when narrow planks will be strips.


To ensure there is enough to do I have been planning my own boat project in the background. The first plans already exist in both digital format and as a paper print-out. Designing a boat on the computer in 3D is something totally new to me and I have used more hours on it than I thought would be needed. Seems that everything needs some practicing.


More interesting pictures of my own boat project will be posted shortly. I have still not any project name for this boat so if you have a good one, please suggest.

I have got feedback that I should post more pictures and more frequently. I'll try to fulfill your wishes.


Thursday, October 13, 2016

A big day

Hi,

Yesterday was a big day for Sari and Jouka when they  launched their boats. 

Saris boat a traditional type of sailing boat she started building last year. 


Joukas boat a self designed modern sailing boat built in pine strips.


Both boats were out for a short test trip. A bit more wind would though have been nice.


There are a lot of nice details on Joukas boat. One example are the knitted turnbuckle protectors.